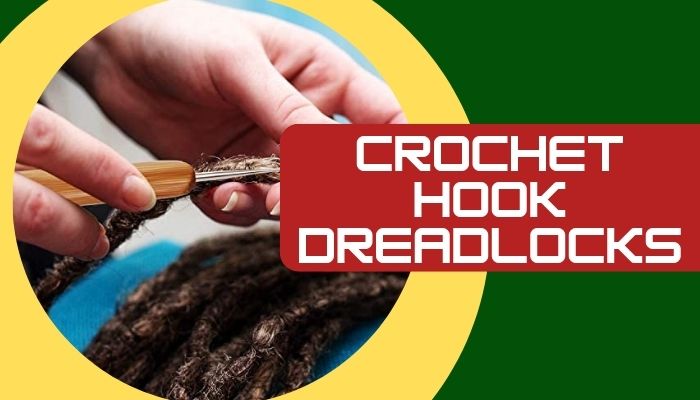
Crochet hook dreadlocks are cool. I mean, yeah, they give you a funky style. But they take so much time, maintenance and are also tricky. As they say; Dreadlocks teach us patience and commitment.
Well, if that’s the case, they are such a deal maker for me.
When I wanted to have my crochet hook dreadlocks, I was so confused as many people told me that they are damaging and can become a headache for me.
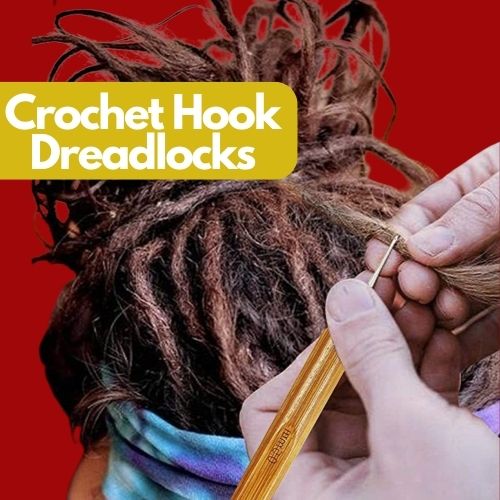
Whatever, when you have the right guidance in your hand you can get the best crochet hook dreadlocks. For this, you need to follow me if you want the best crochet hook dreadlocks experience.
So, roll up your sleeves and read till the end baby!
Steps Of Doing Crochet Hook Dreadlocks
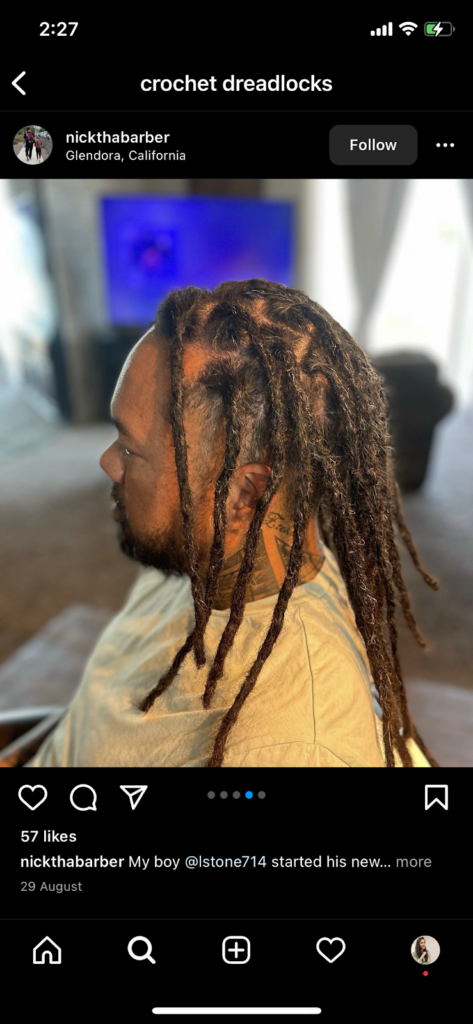
Picture source: Instagram/nickthabarber
Keep in mind, when you are using a crochet hook for the very very first time you definitely want to be sure that you have practiced on something that is not your hair because if it doesn’t go right in one attempt, you might end up regretting it. I DON’T WANT IT!
So, whatever steps I am mentioning, make sure you attempt them firstly on a dummy or on a wig especially if you are a newbie to the dread world.
Beginning the process…
Step 1: Wash Your Hair
Washing your hair before styling is like having a clean canvas to easily paint anything.
Before grabbing a comb, grab a good deep cleansing shampoo. Whatever type you are dreading, having fresh, clean hair makes things so much simpler.
The first step is to thoroughly cleanse your hair and remove any residue accumulation that you may have from regular styling products. Make certain your hair is clean and free of dirt. When your hair is wet apply the accelerator.
One thing to also be noted, crochet dreads will not knot securely if your hair is damp, so ensure that your hair is completely dry after washing and applying accelerator.
Step 2: Make Sections
After that, segment your hair. If you don’t do this step, you’ll wind up with some dreadlocks that are much larger than others with gaps in between. It will also create a mess.
If you have thin hair, four sections will work. If you have thicker hair, you might have to construct more than eight parts.
Tie your hair sections with poly bands to keep them out of your process.
Step 3: Crocheting
Finally, we are at the main point!
Begin by removing the band from your first portion and setting it aside. Backcomb the portion of hair (beginning backcombing from approximately 8cm down works great for long hair) or twist the section with your comb.
Next, push the hook through the dread to the opposite side, grip a few hairs with the hook’s end, and draw the hook back to the center of the dread. Continue doing this as you make your way down the freshly developed dreadlock.
As you make your way down the dreadlock with the crochet hook, remember to insert it in different spots so that you don’t insert it twice.
Step 4: Go Back And Tighten
When that loc is finished, go again through with the hook to tighten and tidy up any missing hair.
Furthermore, if you want to have a rounded end look, press and rub the end point of your loc with the dread dust. Fold this edge and weave it back into the dreadlock.
Step 5: Dense It With Palm Rolling
Concluding the dreadlocks with palm rolling can help compress it even more and give it a pleasing round appearance. It entails rubbing the top of the dread between your palms while providing downward pressure and gradually working your way through the entire length of the dread.
Step 6: Applying Wax/Gel
Now, it’s the wax time!
Take out a little bit of wax and rub it between your palms. Afterwards. Apply it gently to your dreadlocks. In this step, use the same palm rolling technique.
Step 7: Secure With Poly Bands
Wrap up by tying a poly band around the root and tip of each dreadlock. This will assist the fresh-faced dreading in forming and maintaining its shape over the first several days. Leave them on for one week or more, or at the very minimum until your first wash.
You can also watch video of HowCast—crochet dreadlocking on Youtube for better understanding…
What Are Crochet Dreadlocks?
When I was craving dreadlocks, I found there are several options available to choose from. I also came to know Dreadar Dreadlocks—a dreadlock professional. I really get inspired by him.
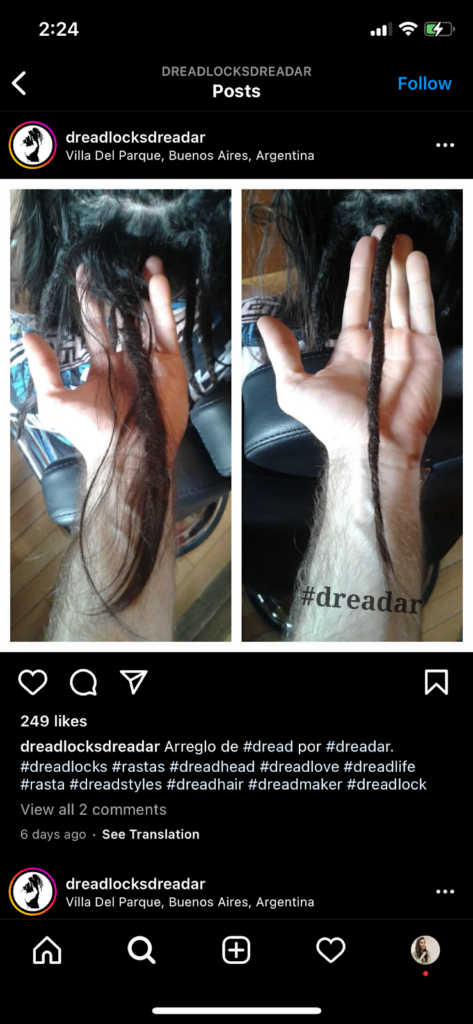
However, the crochet approach may be the most complete, I BELIEVE!
Why?
The crochet method involves physically interlocking and interweaving hair follicles using a crochet needle or a crochet hook for dreadlocks so that they bind and lock together tighter. It’s like transforming your hair into sample dreadlocks before they mature into full-fledged dreadlocks.
When done right, crocheting dreadlocks should not damage the hair but instead generate firm, well-knotted dreadlocks.
Most probably, there are ways of doing crochet dreadlocks.
In one type, the technician makes several tiny loops with the hook to pull the hair to the center and form the dread cylinder. This approach is useful for developing robust dreadlocks on any hair type.
Another option is to use the hook to draw the hair across the length of the dreadlock, similar to knitting. This approach is a little more challenging and works better on heavily textured hair, therefore its use is more limited.
Point To Remember: My experience is speaking, the hair industry has not largely recognized crocheting as an efficient method of installing and/or maintaining dreadlocks. As a result, you shouldn’t hope to stroll into a regular salon and get your dreadlocks crochet; nearly none of them have any understanding of what crocheting dreadlocks require. However, if they claim they know, make sure they follow the right steps which I will share in this post.
Things You Need For Crochet Hook Dreadlocks

Get ready to add up the following things in your cart…
1. Dread Comb
Get a comb with metal blisters. The blisters should be as close as possible. Metal blisters dread comb will allow you to pull forcefully against the hair without the bristles shattering.
2. Crochet Hook
Using hooks that are too big might result in more damage. I normally use 0.4mm and 0.5mm crochet hooks, but starting off with a 0.6mm crochet hook will be easier.
I additionally favor light-touch crochet hooks over slender ones since they offer a more comfortable grasp and give you more control, which is necessary.
3. Rubber Bands
Purchase little poly bands that will last through the early washings. They are smaller and don’t tug your hair as much as ordinary rubber bands.
4. Dread Accelerator And Dust
Accelerator and Dread Dust make everything a lot simpler. Without a question, dreadlocking is a delight, and the more assistance you have with accelerators, the easier.
The dreads will look more appealing since they will be tighter and smoother, and they’ll form quicker without accumulating product.
5. Sealing Gel
Binding with gel or wax will quickly make your dreadlocks nice and neat while also aiding with the developmental phase. Many gels and waxes for dreadlocks have magnetic binding and lasting power, therefore I advise using them moderately.
Points To Remember When Crochet Dreadlocking
- Bleached and aging hair is fragile and damaged. These types of hair are more susceptible to damage since they are not properly hydrated. Because of this, you should ignore crocheting bleached or aging hair.
- If it is your first attempt, it is strongly advised that you utilize the crochet method on synthetic hair. This can assist you to avoid damaging your dreadlocks quality. Admittedly, as a newbie, you’re more likely to make mistakes.
- It is still necessary to seek the assistance of a specialist for the crocheting approach.
How To Maintain Crochet Hook Dreadlocks?
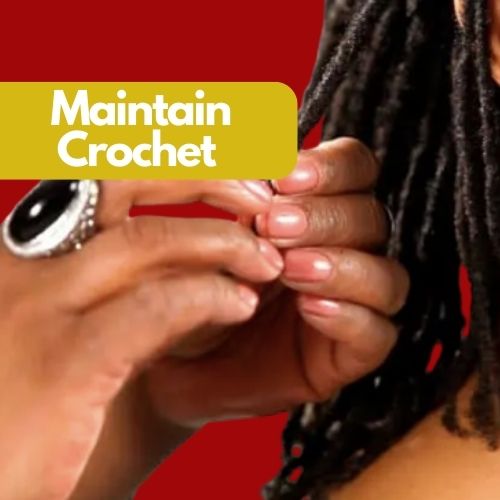
Got your crochet dreadlock? Now, what? MAINTAIN THEM!
Frequent upkeep to re-crochet the roots as your hair grows would be recommended. This is usually required every 2-4 months, but to achieve a more natural effect, you may extend it to 6 months.
As previously stated, do not wash them for at least one week. When it’s time to wash, use a good dreadlock shampoo.
Also, avoid using any styling products and bleaching, it may weaken them.
Frequently Asked Questions (FAQs)
How long does it take to crochet hook dreads?
It may take 10 to 12 hours to get the desired crochet hook dreadlocks. It depends on your skills, if you are a newbie it can take a good amount of time.
Do you crochet dreads wet or dry?
If your hair is wet, crochet dreads will not knot firmly, so make sure your hair is totally dry when doing crochet dreadlocking.
What size crochet hook do I need for dreads?
Normally, 0.4mm and 0.5mm crochet hooks, but starting off with a 0.6mm crochet hook will be easier
How often should you crochet your dreads?
It is better to crochet your dreads every 2 to 3 months. It will not only maintain them but give them a fresh look also.
Can I wash my crochet dreads?
Yes, you can wash your crochet dreadlocks but after 1 week of getting them. Afterwards, you can wash them with a shampoo which contains shea or olive oil.
Now, It’s Your Turn!
One of numerous dreadlock approaches is crochet. Crochet dreads appear to be the perfect scenario to many dread installation difficulties. I got nice memories with them. They are tricky but if done right, they generate a compact, even dreadlock. What else loc lovers could ask for?
However, you must be careful when using this procedure. If you are excessively rough or aggressive with the stabbing action, it might damage your fingertips.
I hope this was useful. If you have any queries, please leave them in the comments section below. Also, do let me know how your experience with dreadlocks was.
Read Related Articles:
- Top 8 Best Bomba Dreadlocks Crochet Braids
- Crochet Dreadlocks: Everything You Need to Know!
- Dreadlocks Crochet Hook Size Tips & Buyers Guide!
- Instant Dreadlocks Crochet: A Quick How-to Guide!
- How to Crochet Dreadlocks Extensions: X Easy Steps!
- Semi Freeform Locs: What Are They & How-to Guide!
- How to Crochet Dreadlocks: A Comprehensive Guide!
- 25 Crochet Dreadlocks Styles That Will Wow & Inspire You
- Instant Dreadlocks with Crochet Needle: A Beginners Guide!
